


Can't find what you are looking for?
We are here for you!

Dacă aveți probleme cu afișajul digital, efectuați următoarea sarcină pentru a reseta afișajul.
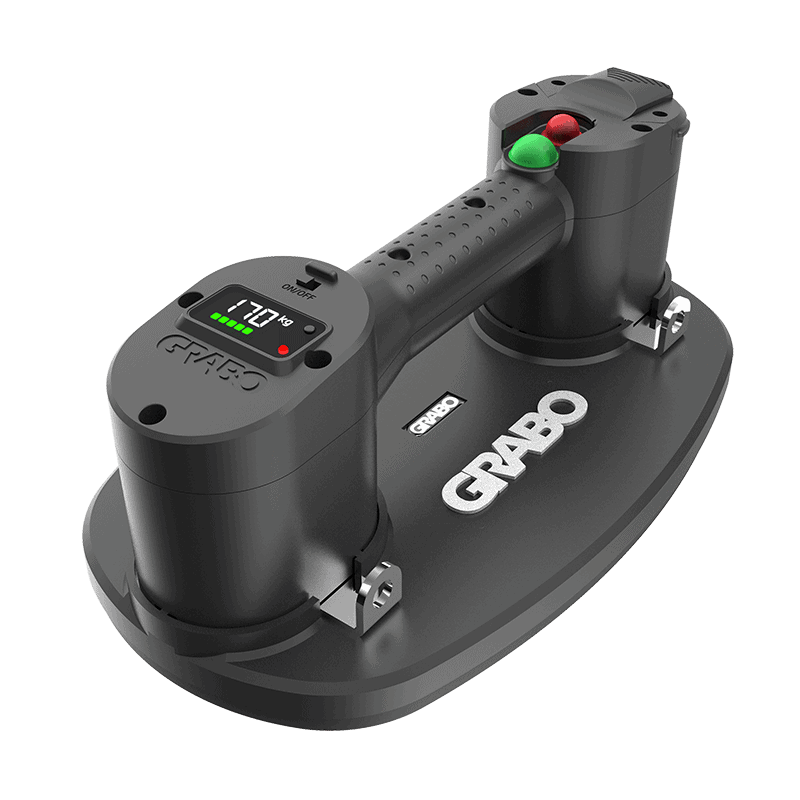
Slide the power ON/OFF switch into the ON position. The run status indicator lights up red and the digital display shows the amount of available charge and the current pressure. If the last bar of the battery indicator flashes red, the battery needs to be charged.
Optionally, press the measurement unit selector to change pressure units from bar to psi and weight units from kg to lbs.
Position the GRABO® PRO LED firmly against the surface of the object you want to lift.
Press the green motor power button. The run status indicator flashes red. A seal is created within seconds. When the negative pressure reaches its maximum, the indicator turns green and the motor stops automatically.
When done and the object is in a secure, stable position, press the green motor power button to stop the pump. Press the red vacuum release button to break the seal and release the object.
No light: The GRABO® PRO LED is turned off.
Continuously red: Device is turned on and ready for use, pressure is building up, or the pump is switched off.
Flashing red: Pump is switched on; pressure is low and building up.
Continuously green: Pump is switched on but the motor is off; pressure has reached its maximum capacity.
5 green bars on battery indicator: Battery is sufficiently charged.
Last bar of battery indicator flashes red: Battery capacity is low or empty. Recharge before continuing.
Pull out the rubber foam seal.
Gently press a replacement rubber foam seal into position.
Make sure that the replacement rubber foam seal fits correctly and securely.
Clean the filter when dirty. The filter needs to be replaced when badly worn or ripped (at the customer's discretion). When lifting clean material, the filter lasts longer than when used on dirty or dusty materials.
Turn the GRABO® PRO LED upside down.
Use the tip of a screwdriver to remove the air filter lock ring and the air filter pad.
Either clean the filter with compressed air, or insert a replacement air filter pad.
Insert the air filter lock ring to secure the filter in place.
Slide the battery latch to unlock the battery.
Remove the battery.
Connect the battery with the multi-socket battery charger to a wall socket.
When the battery is fully charged, the battery bar indicator turns green.
Disconnect the multi-socket battery charger from the wall socket and the battery.
Put the battery back in the battery compartment.
Press and slide the battery latch to lock the battery in place.
WARNING: Changes to the tool and technical modifications are not permitted. This can lead to injury. If the tool fails despite the care taken in manufacturing and testing procedures, repair must be carried out by an authorized after-sales service centre for the GRABO® PRO LED.
We are here for you!